How to create a new user
As an account manager, you can create other users who can place orders, view your account, and choose the security level assigned to each user.
Here’s how to create a new user:
1. Access your Hybrid IoT account by logging in to the Terrestar Solutions portal.
2. Click on the Account Settings section located in the top navigation bar.

3. Select Users from the dropdown menu.

4. On the Users page, click the Create user button.

5. Complete the relevant fields in the form.
- Name - first and last name of the new user
- Email - email address of the new user *
- Description (optional) - additional information about the new user
- Select the appropriate User Profile from the dropdown list
- User Profile - user profile dictates the permissions and abilities the new user will have
User profile descriptions:
- Admin user: The Admin user has full permissions, allowing them to view and modify all settings in the Advanced Console and Portal.
- Standard user: The Standard user has similar capabilities except they cannot access or manage pricing and user settings in the Advanced Console and Portal.
- Group user: The Group user is restricted to managing specific Thing Groups. This is useful when you need to monitor or manage the status of particular SIMs for certain end users.
- Monitor user: The Monitor user can only monitor information in the Advanced Console and Portal. This user is unable to make any modifications.
- API user: The API user is intended exclusively for API testing and documentation within the Advanced Console and Portal.
6. Groups - when creating a user with a Group User profile, you must select the groups that are accessible to the new user.
7. Click the Save button to finalize the creation.
* A user with the same email address (for example: user@company.com) cannot be created in multiple user roles or multiple accounts. Either you insert a new email, or you can use email alias (Depending on your email provider you may be able to add + [alias] to the email address, ex: user+alias@company.com).
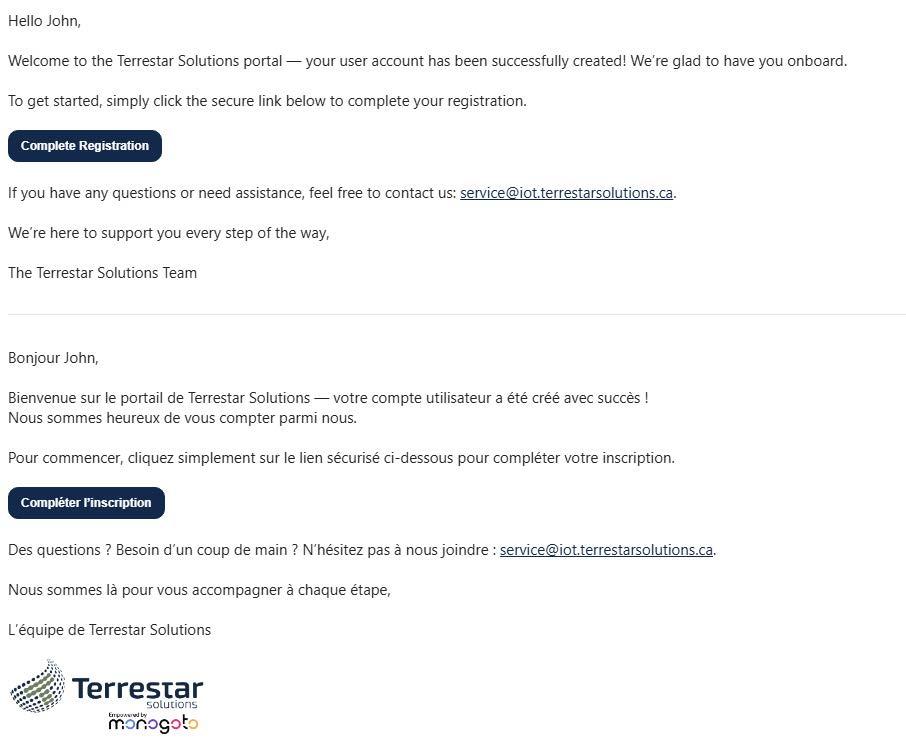
8. After creating the user, an activation email will be sent to the new user to complete their registration.
9. The new user will be asked to click Click here to login in the email and follow the Login procedure.